Customer Setting
Path: System Configs > Customer Setting
Customer settings are configured on a case-by-case basis according to customer needs. This table is designed to be generic, so the field names are also generic. The data configuration should be determined based on the actual customer requirements.
Do not modify the customer settings by yourself without the instructions of TPIsoftware personnel.

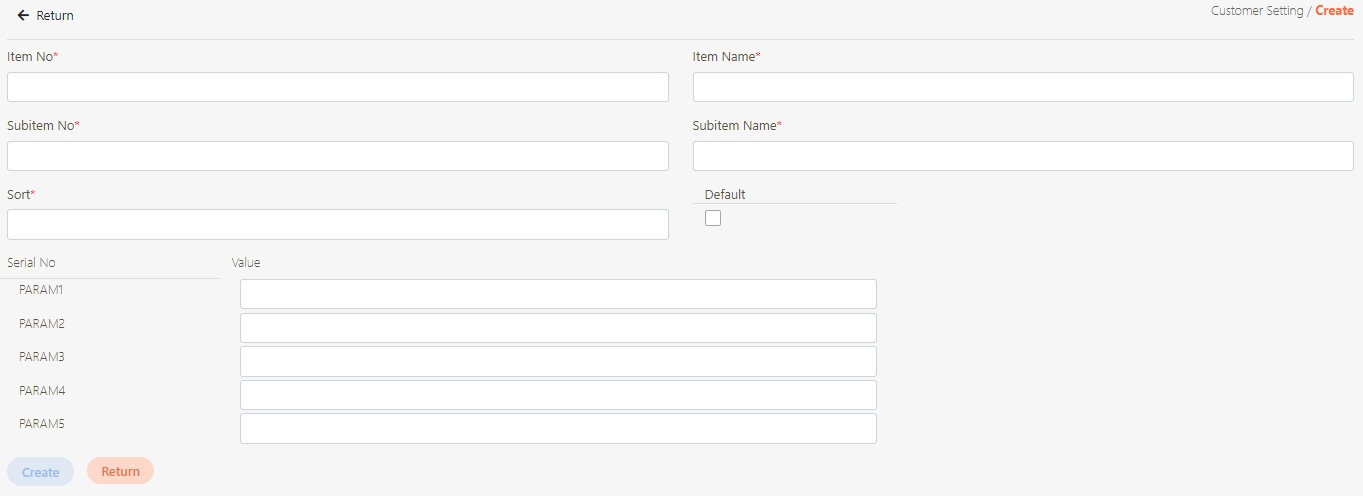
Create Customer Settings
Click Create to access the creation page.

Fill in the data or make selections as instructed below. The fields marked with “*” are required.
Item No*: Identifiable category number.
Item Name*: Identifiable main categories.
Subitem No*: Identifiable subcategory number.
Subitem Name*: Identifiable subcategories.
Sort: Sorting in the table.
Default: Whether it is the default.
Value: Five input boxes, PARAM1~ PARAM5, are available for users to configure based on their requirements.
Click Create to save and exit.
Search Customer Settings
Keywords can be entered to search for customer settings.

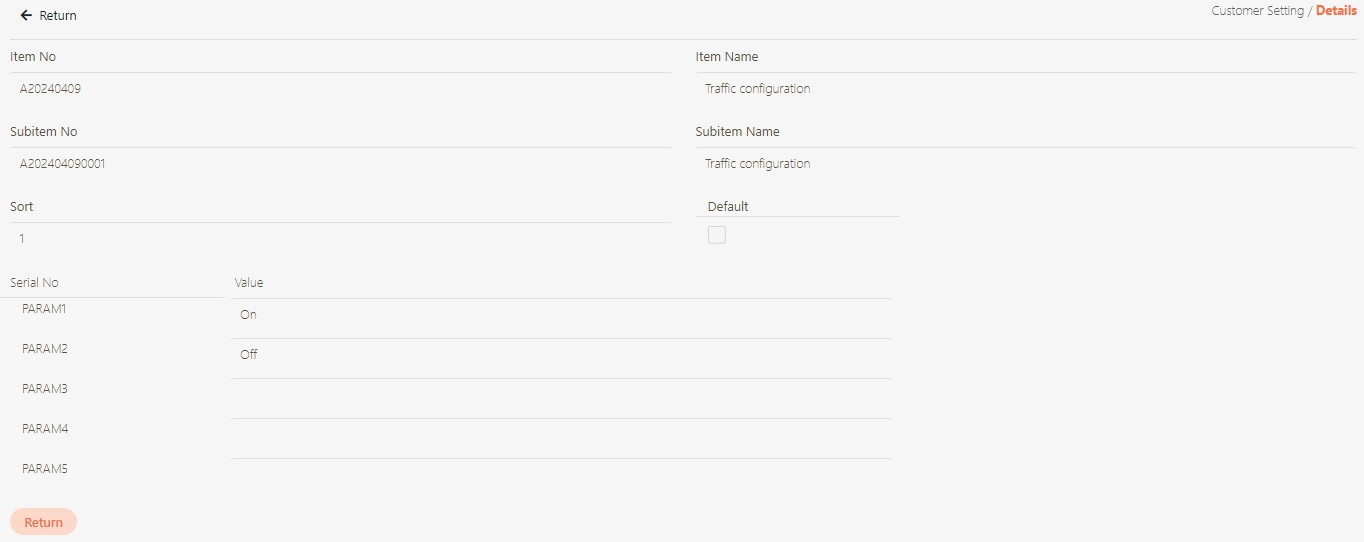
View Customer Settings
Search for the customer setting to view details, and click on the![]() icon to access the recurring task details page.
icon to access the recurring task details page.

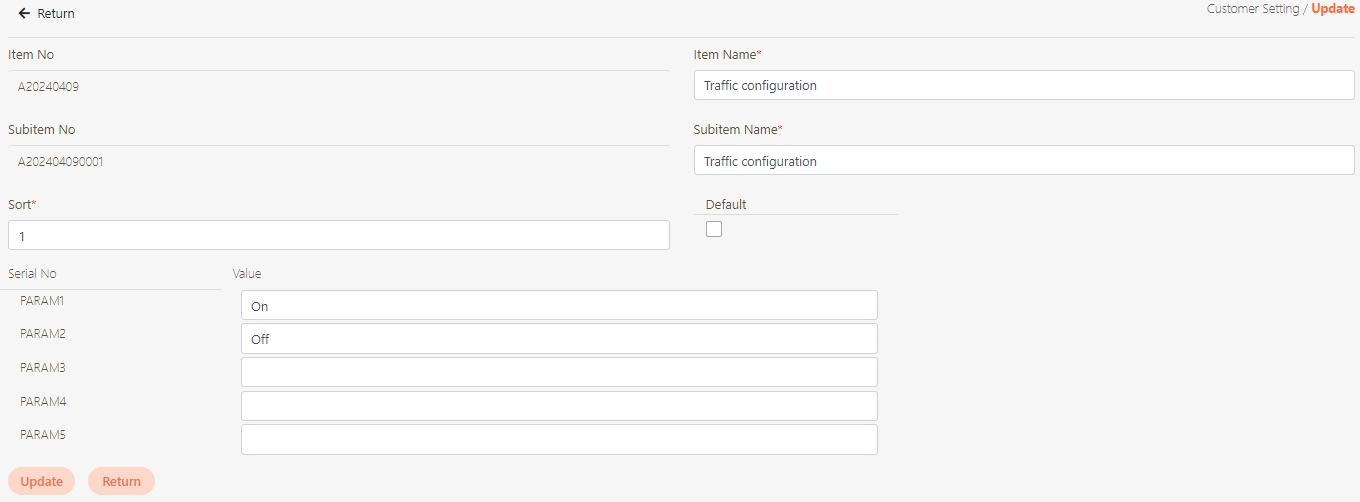
Update Customer Settings
Search for the customer setting to modify, and click on the
 icon to access the update page.

Modify the desired fields, and click Update to save and exit.
Delete Customer Settings
Search for the customer setting to delete, and click on the
 icon to access Delete page.

Click Delete to proceed.
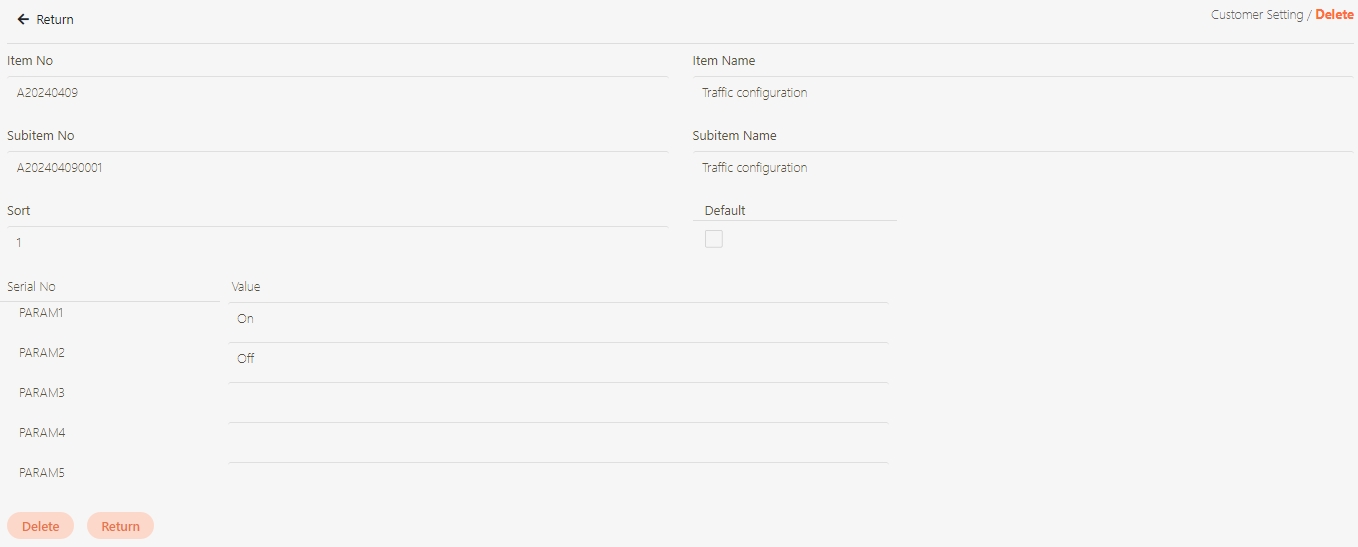
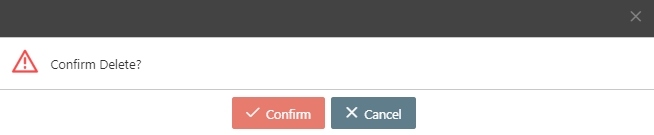
A warning prompt displaying the message “Confirm Delete?” will pop up. Click Confirm to delete the customer setting and exit.
Last updated
Was this helpful?