Role & txID
Path: AC User Management > Role & txID
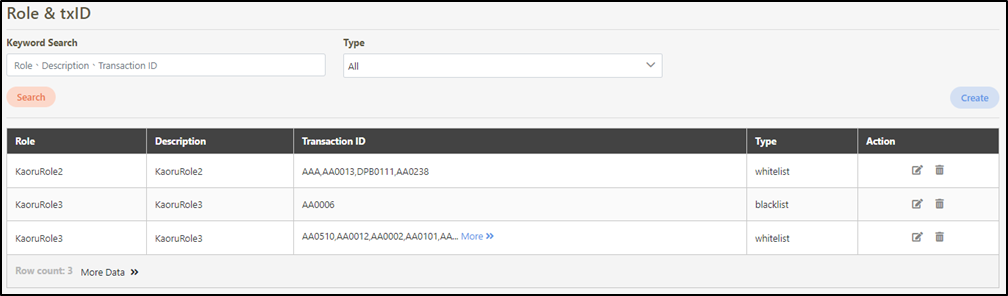
Roles & txID (Transaction ID) enables/disables the role’s CRUD function on the platform.
Create Role & txIDs
In this section, you can find instructions on how to create a role & txID.
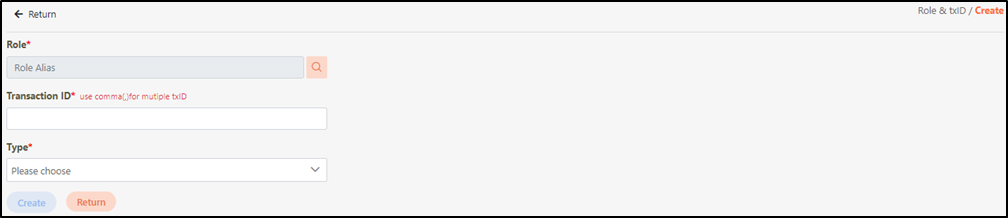
Click Create to access the role & txID creation page.

Fill in the data or make selections as instructed below. The fields marked with “*” are required.
Role*: The role code that needs to be set, with only one role selectable from the list.
Transaction ID*: txId that can or cannot be executed.
Type*: Set as whitelist or blacklist.
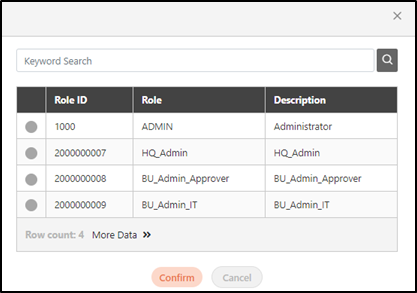
Click on the
 icon in the Role* filed to search for the role to access the role list menu, and click Confirm to save and exit.
Set the type as the whitelist or blacklist.
Description
Only allow executing the selected txId (Transaction ID) triggered role.
If the correct txId (Transaction ID) was not filled in, users will not be able to use the system.
Do not allow executing the selected txId (Transaction ID) triggered role.
Entering the wrong txId (Transaction ID) will not cause users unable to operate the system normally.
However, if a specific txId (Transaction ID) was entered, users cannot use the function that corresponds to this txId (Transaction ID).
Example
If AAA was entered in the Transaction ID* field, AA0020
If AAA was entered in the Transaction ID* field, AA0020
Example
Description
AAA is the wrong txId, therefore system operation will not be affected.
However, the function that corresponds to AA0020 is Search of role maintenance, therefore, users can only use the search function of role maintenance.
AAA is the wrong txId, therefore system operation will not be affected.
However, the function that corresponds to AA0020 is Search of role maintenance, therefore, users cannot use the search function of role maintenance.
If the list type is set to whitelist, only the Transaction IDs (txIDs) listed in the whitelist are allowed; all other functions will be considered unauthorized. The system will not prompt any warning if an incorrect txID is entered. Therefore, when setting up the whitelist, verify that the txIDs are correct before saving.
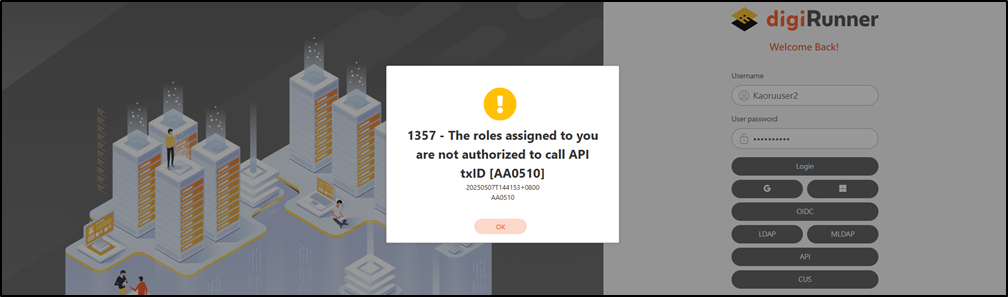
Conversely, if the list type is set to blacklist, when a user attempts to operate a txID listed in the blacklist, the system will prompt the warning message: “1357 - The roles assigned to you are not authorized to call API txID [AA0510]”. A warning prompt displaying the message “Confirm Delete?” will pop up.
For more information, refer to Search txID (Transaction ID).
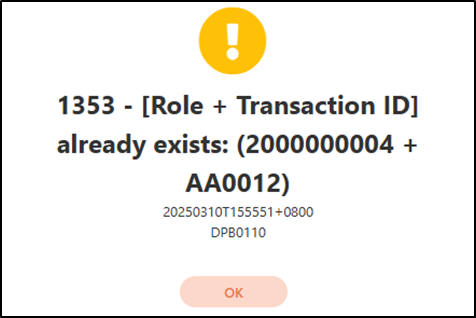
If the Transaction ID was already set in the blacklist first, if this Transaction ID is added to the whitelist, the prompt “1353 - [Role + Transaction ID] already exists: (2000000016 + AA0006)” will appear, meaning that this Transaction ID was already created in the blacklist.
Search Role & txIDs
Enter keywords in the Keyword Search field and Type field to search for role & txID.

Update Role & txIDs
In this section, you can find instructions on how to update a role & txID.
Search for the role list to modify, and click the
 icon to proceed.

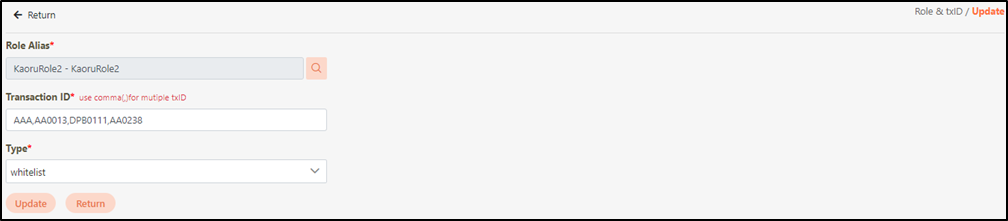
Modify the desired fields, and click Update to save and exit.
Delete Role & txIDs
In this section, you can find instructions on how to delete role & txID.
Search for the role & txID to delete, and click on the
 icon to proceed.

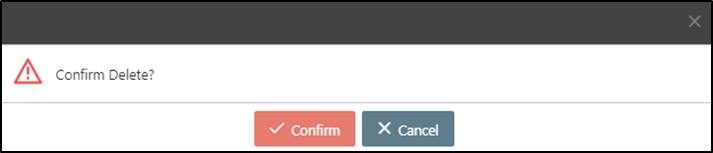
A warning prompt displaying the message “Confirm Delete?” will pop up. Click Confirm to delete the role & txID and exit.
Search txIDs
First, press F12 developer tools, then select the tab Network > Name area at the bottom-right is where the txID is placed.
Click any function on the system, such as: Search in User, its corresponding txID is AA0019.

Was this helpful?