Files necessary for controlling system operations.
Do not change them by yourself without the instruction of TPIsoftware personnel.
Create Files
Click Create to access the creation page.
Fill in the data or make selections as instructed below. The fields marked with “*” are required.
File classification*: Category that the file belongs to, for example: API documentation.
Reference ID*: The serial number of files depends on File classification, which means this file is attached to a specified data sheet under File classification.
For example: One of the PK values in the API documentation table is (reference ID) = 1; if this entry of data has two files attached, the recording method is as follows: (1001, API documentation, 1)(1002, API documentation, 1). 1001 and 1002 are the PK values of this table.
File name*: Name that can identify the file.
Add to Recycle Bin: If selected, it will be created directly in the recycle bin.
Upload file: The file you want to upload.
Click Create to save and exit.
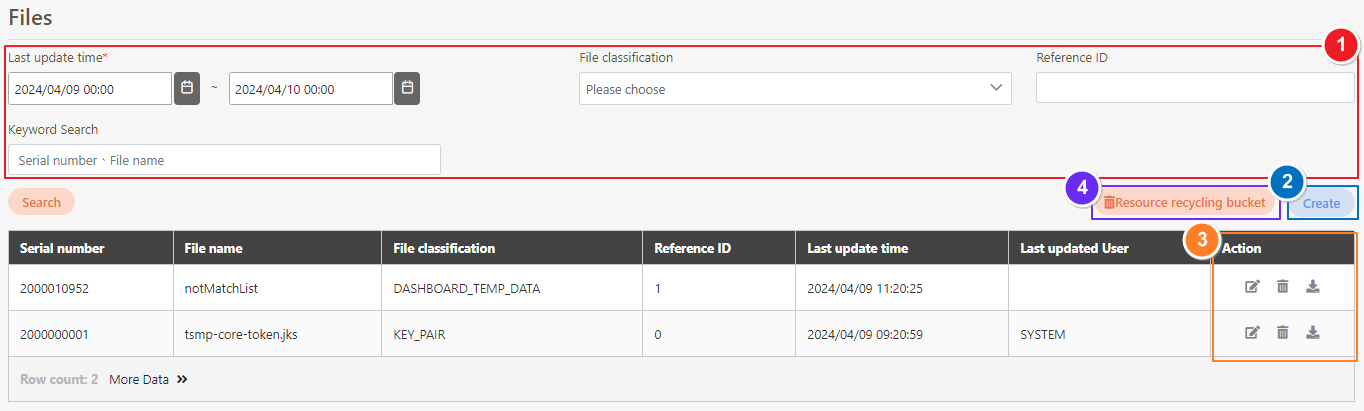
Search Files
Keywords, start and end dates, file category or reference ID can be entered to search files.
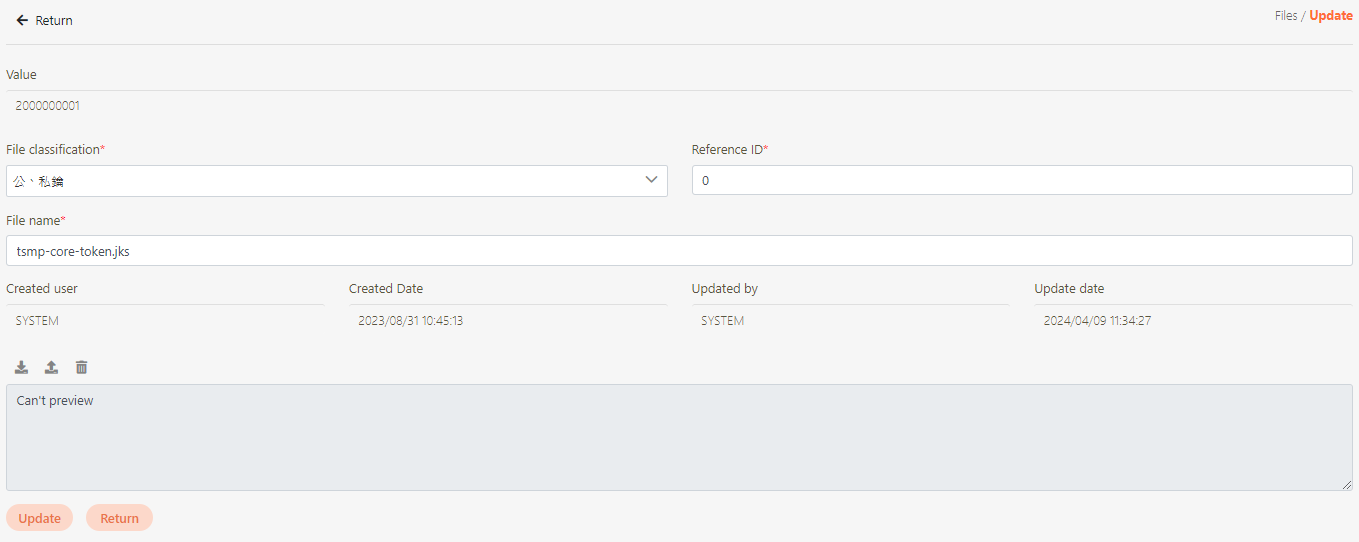
Update Files
Search for the file to modify, and click the icon to update it, and access the update page.
Modify the desired fields, and click Update to save and exit.
Delete Files
Search for the file to delete, and click on the icon to proceed.
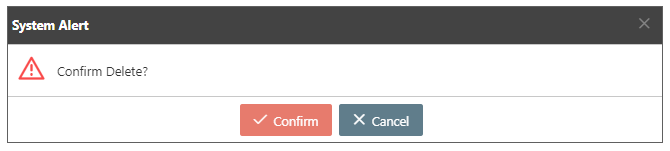
A warning prompt displaying the message “Confirm Delete?” will pop up. Click Confirm to delete this file and exit.
The deleted file will be moved to the Resource recycling bucket.
Download Files
To download files, you can click on the icon to download the file.
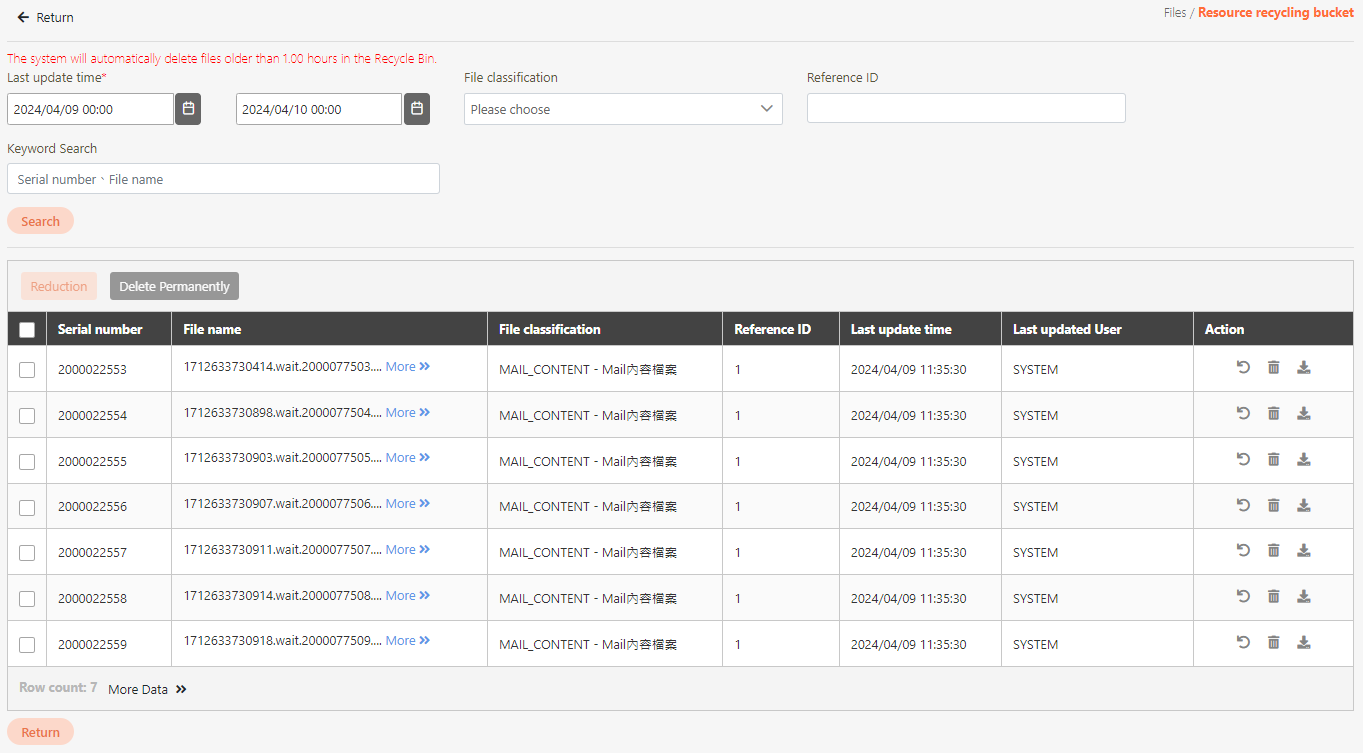
Files Recycle Bin
If files were deleted by accident, they can be recovered from the recycle bin. The system will delete the files that are in the recycle bin for more than 1 hour automatically.
Click Resource recycling bucket to access the recycle bin page.
Recycle Bin - Search
Keywords, start and end dates, file category or reference ID can be entered to search files.
Recycle Bin - Manage Files
Use the icon to restore the file, the icon to delete the file permanently, and the icon to download the file.
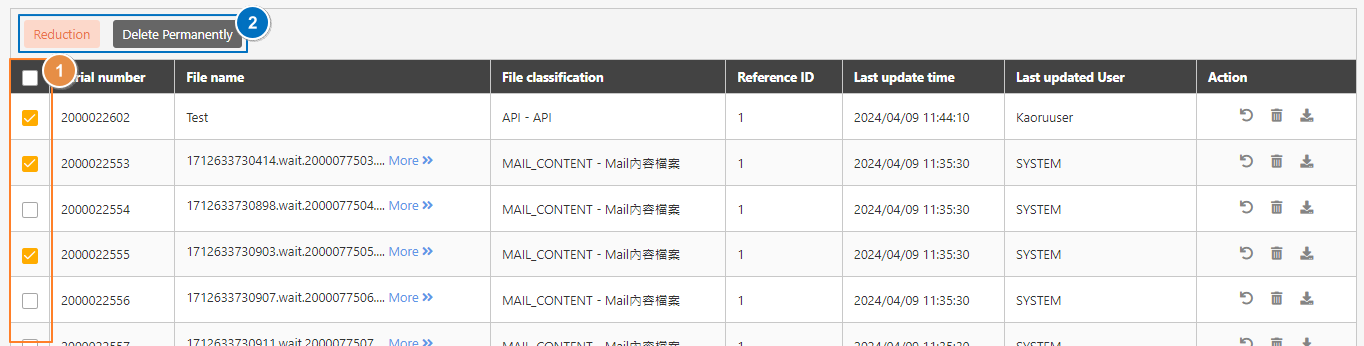
Recycle Bin - Batch Manage Files
In this section, you can find instructions on how to restore files in batches or delete them permanently.
Select the files first (as ➊ below), and click Reduction to restore files or Delete Permanently to delete them permanently (as ➋ below).


 icon to update it, and access the update page.
 icon to proceed.