Path: Application Forms > Applications
Upon completing application forms, the applications will be saved in Applications for review, including all applications.
Search Applications
Keywords and application date can be used to check the review status.
Review Status - Requisition
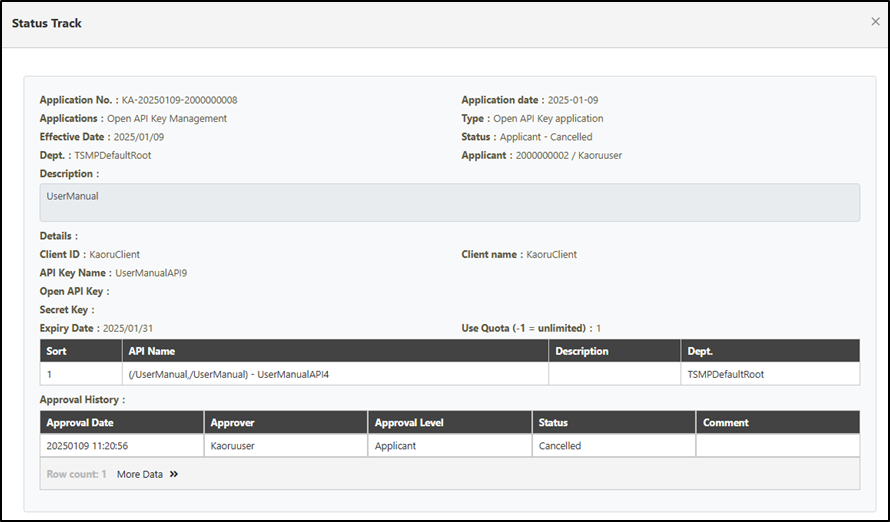
Under the Requisition tab, you can view applications of all review statuses.
To view the review process of applications, search for the desired application, and click the  icon, and the history page of the application will pop up.
Close Application
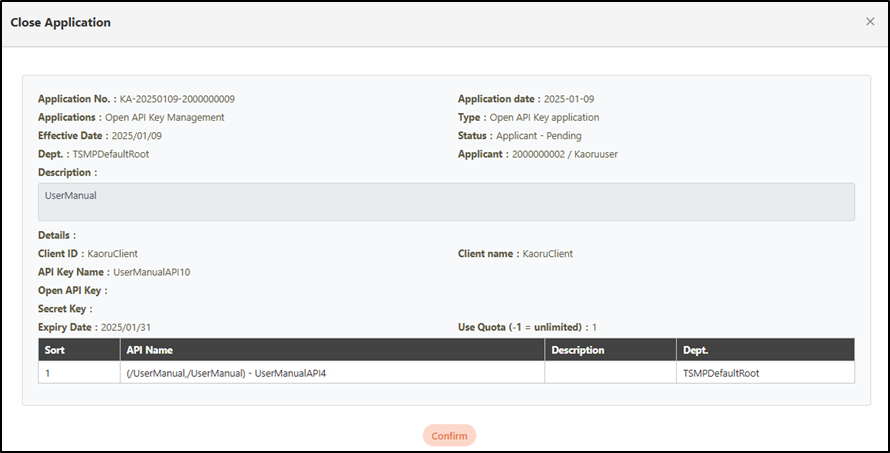
Applications can also be closed if there are application errors.
Search for the application to close, and click on the  icon to proceed.
The Close Application page will pop up. Click Confirm to save and exit.
The status of closed applications will be displayed as “Applicant - Cancelled”.
Edit Application
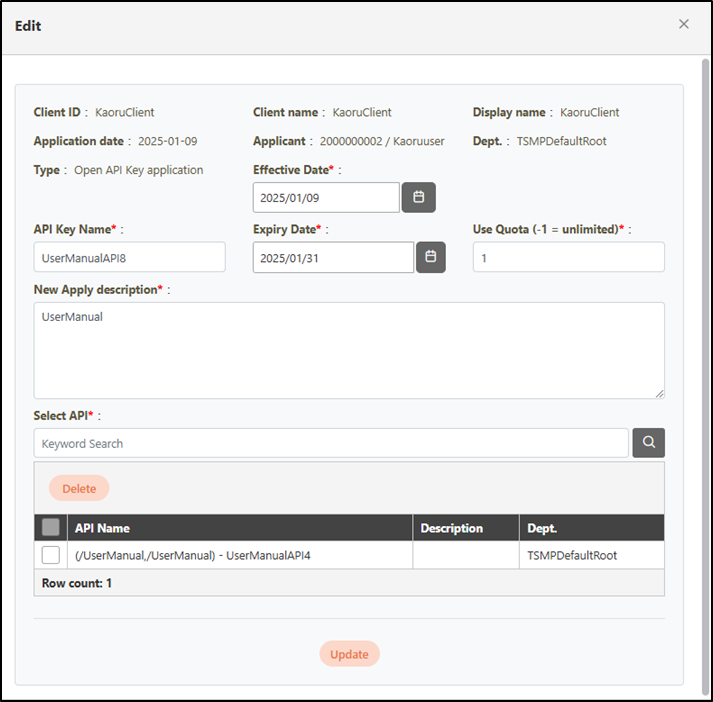
Applications not yet reviewed can be updated in this section.
Search for the application to update, click on the  icon to proceed.
The Edit page will pop up. Modify the desired fields, and click Update to save and exit.
Submit Application
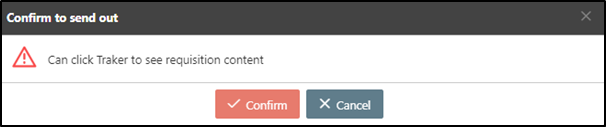
Search for the application to review, and click on the  icon to proceed.
The Confirm to send out page will pop up. Click Confirm to save and exit, proceeding to the next step in the process.
Review Status - Pending order
Under the Pending order tab, you can view all applications requiring approval.
Upon submitting applications, the user can view them under the Requisition and Pending order tabs. The status of the applications will now change to Manage - Pending.
Search for the application to view, and click on the  icon to proceed.
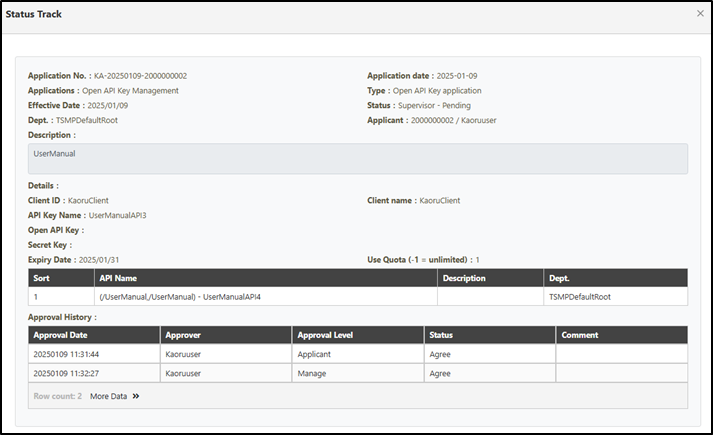
The Status Track page displaying the application history will pop up.
Click on the  icon in the Pending order page.
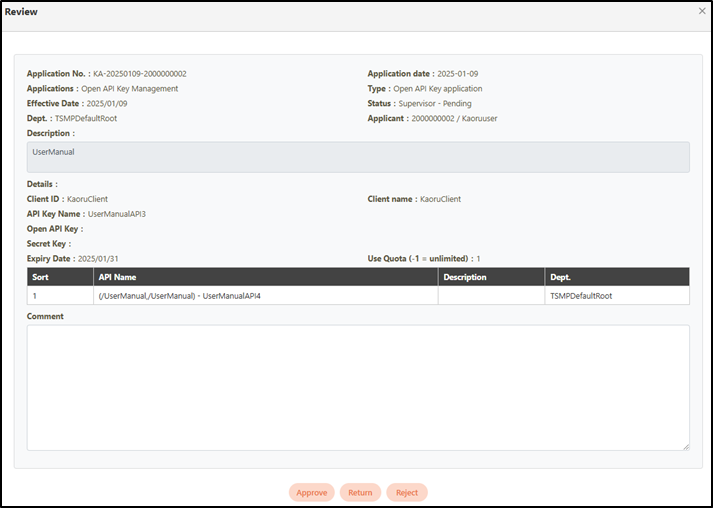
Click on the icon to open the Review page, and click Approve, Return or Reject to perform the corresponding actions.
Review Status - Reviewed
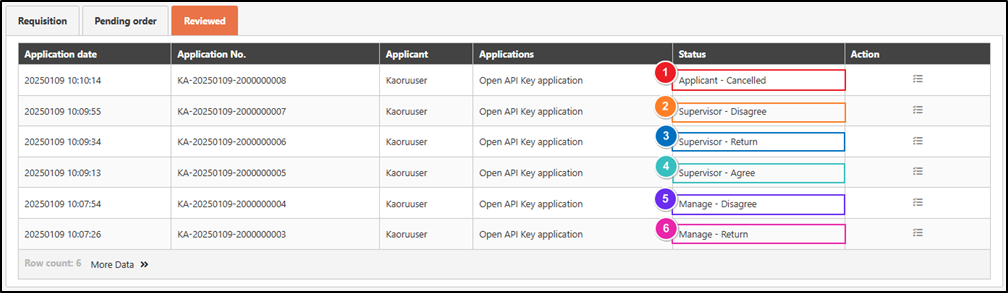
Under the Reviewed tab, you can view the approval results of applications, including those approved under the Pending order tab and those closed by applicants. The system will also send an approval notification email to the applicant.
The statuses include “Applicant - Cancelled” (as shown in ➊ below), “Supervisor - Disagree” (as shown in ➋ below), “Supervisor - Return” (as shown in ➌ below), “Supervisor - Agree” (as shown in ➍ below), “Manage - Disagree” (as shown in ❺ below), and “Manage - Return” (as shown in ❻ below).