API Group
th: Client Management > API Group
API Group is for creating and maintaining API groups. APIs with the same authentication type can be placed in the same group here; APIs in this group will correspond to authorizable client permissions according to the security levels originally set; when selecting the API Scope, a group is used as the unit and authorized at once. This function is usually used to authorize API clients.

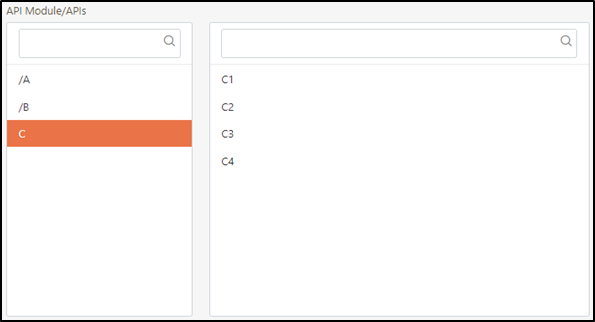
Take the figure below for example. The Module list has three groups /A, /B and C, in which group C contains the four APIs C1, C2, C3 and C4. If users need to use them, all four APIs in the group will be authorized for them at once.
Create Group
In this section, you can find on instructions how to create groups.
Click Create Group to access the group creation page.

Fill in the data or make selections as instructed below. The fields marked with “*” are required.
Group name*: Name of the group. Cannot be changed once created.
Group alias: Alias to help identify the group.
Allowed access duration (0: Unlimited)*: The duration valid for this group; it will become invalid once the time expires. Set to 0 for unlimited duration.
Number of allowed access times (0: Unlimited)*: The maximum number of times this group of APIs can be authorized; it can no longer be used after the number of times has exceeded. Set to 0 for unlimited duration.
Authentication type: Authentication type is required for the APIs in this group; multiple choices allowed.
Security level*: Security levels include A~F; the security level must correspond to the security level of the client’s account.
Simply select the default system security for the security level.
If C is selected as the security level for the client, security levels A and B cannot be found here at API Group.
Description: Description or remarks of the group.
API Module: Enter to select the API module currently mounted on the digiRunner platform.

Further instructions for completing the fields.
Authentication type: Click on the
 icon to access and select from the authentication list; multiple choices allowed as mentioned above.
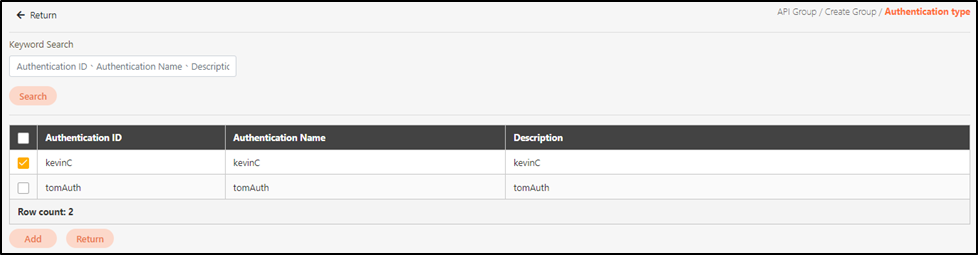
API Module: Click Select to enter and select the API module currently mounted on the digiRunner platform.
Access the selection page and search for the module to add with the search field, then click Select to the left to add it into the module list. To cancel, click Delete to the right side of the selected module; make sure to click Apply when finished selecting.
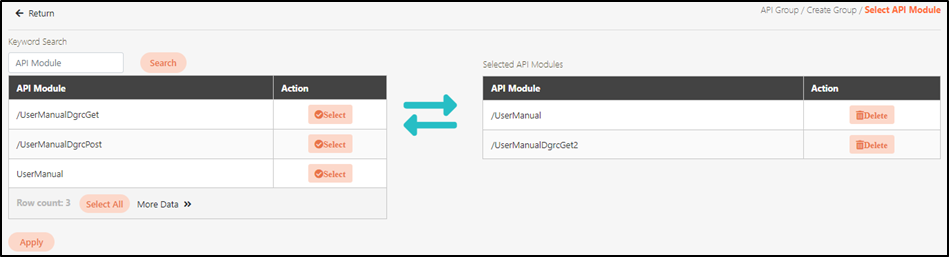
At this time, module is added but not API. It is only added to the group name, but there is nothing inside. Click Select API to complete adding API to the module.

After selecting the API to add, click Apply.

If the group is created with no API added to the module, this module will not be added to the group. Take the figure below for example. APIs are added to /UserManual, and no API is added to /UserManualDgrcGet2. Upon clicking Create, only /UserManual will be saved to the group and not /UserManualDgrcGet2.

Click Create to save and exit.
Search Group
Enter the keywords, the authentication type or security level to search for related groups.

View Group
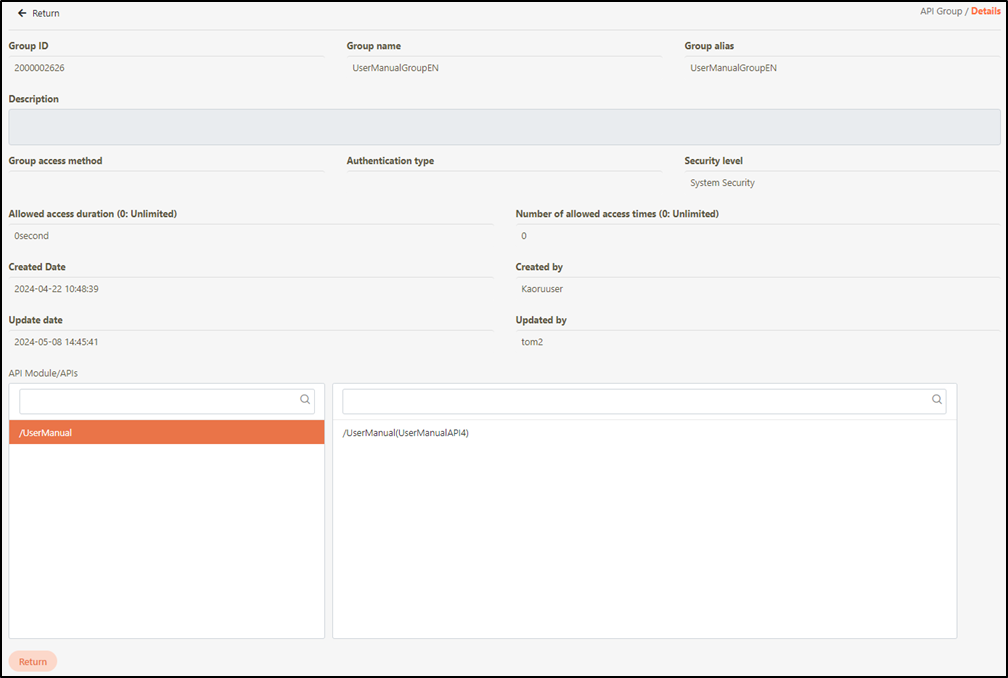
Search for the group to view details, and click on the![]() icon to access the group details page.
icon to access the group details page.
The information in Details in view-only.

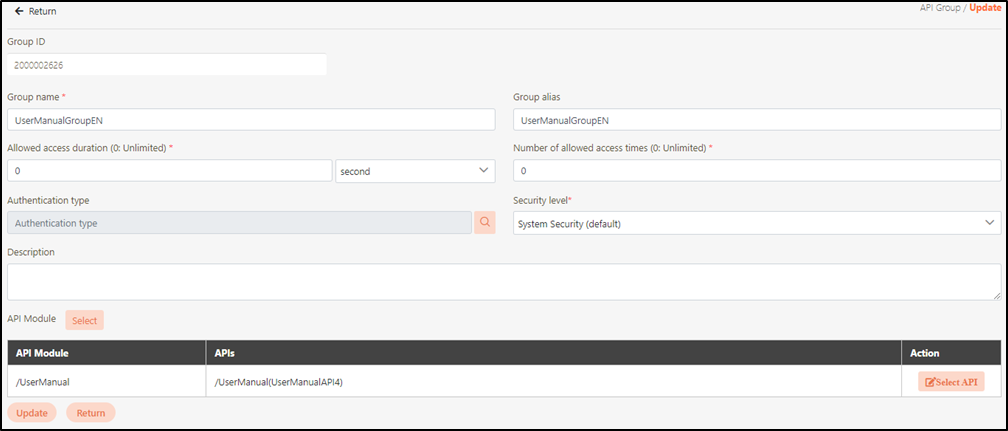
Update Group
In this section, you can find instructions on how to update the group data.
Search for the group to modify, and click the
 icon to access the update page.
To add modules and APIs, the method is the same as to create a group.

Modify the desired fields, and click Update to save and exit.
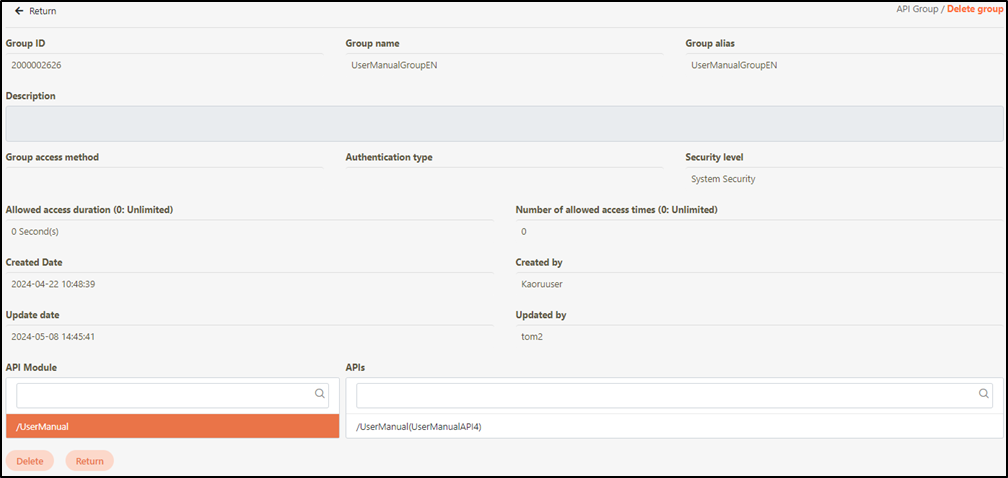
Delete Group
Search for the group to delete, and click on the
 icon to proceed.

Click Delete to delete the group and exit.
Delete the group in the Delete group page, the warning prompt for deletion will NOT appear.
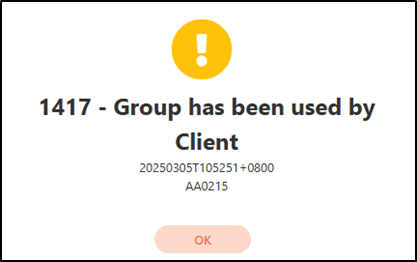
If this group is set as available to a client in API Client > Security > API Group, the error “1417 - Group has been used by Client” will appear, meaning that this group is in use and cannot be deleted.
Last updated
Was this helpful?