Proxy Caching

Proxy caching in digiRunner enhances performance by storing frequently accessed API responses and static web resources, reducing backend load and speeding up response times for end users.

Configuring Proxy Caching

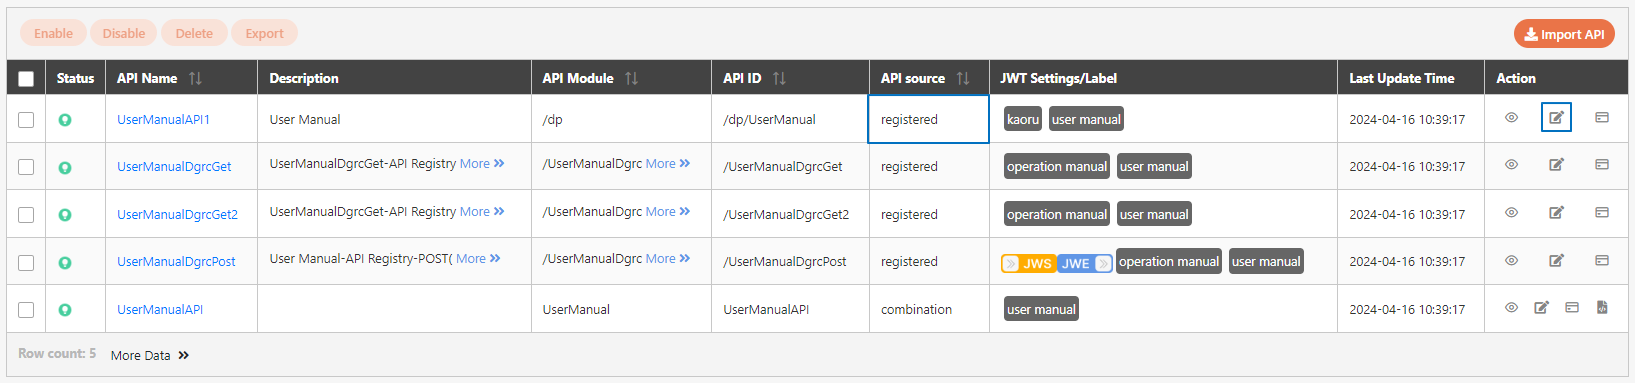
Select API for Caching

  1. Go to API Management > API List, and search for the API you want to enable proxy caching for.

  2. Select the target API, and click on the icon to access the update page to proceed.
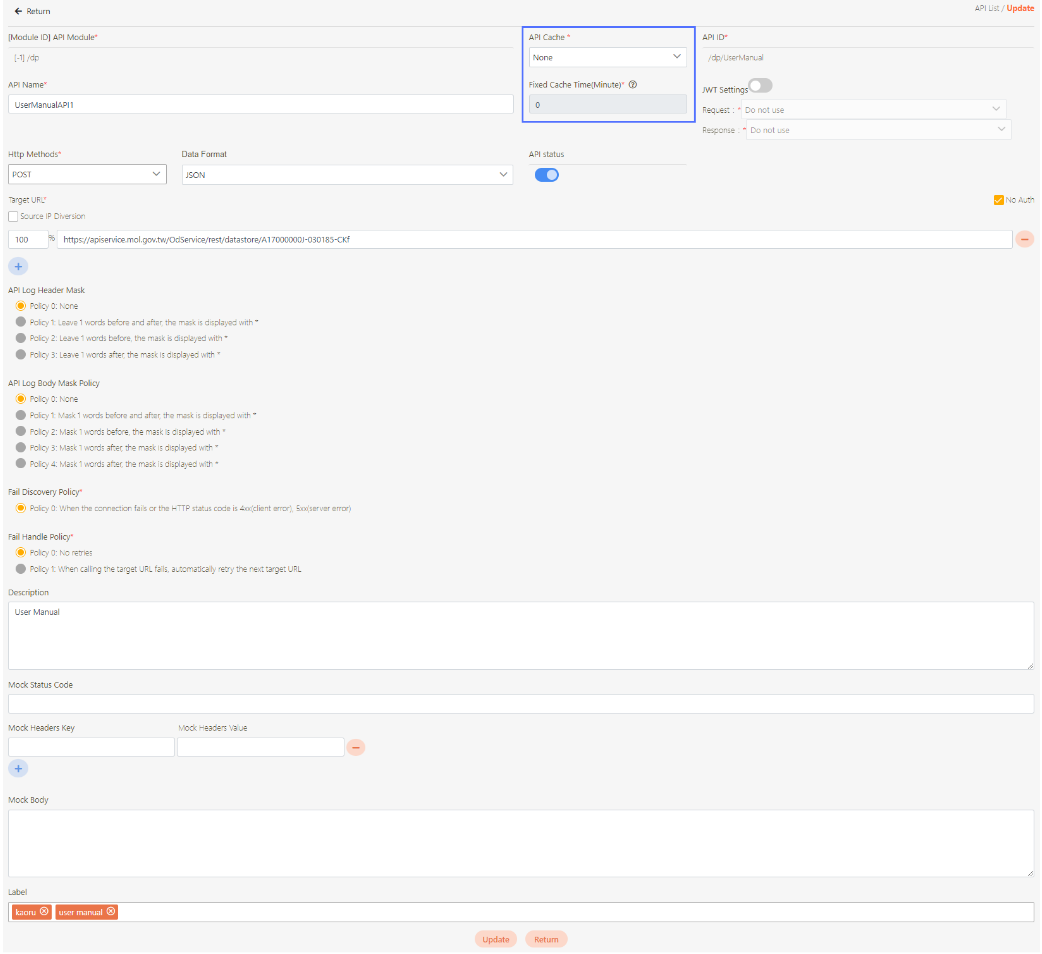
Enable API Cache

In the API settings, locate the API Cache field and select from the following options:

  • None: Disables caching.

  • Adaptive: Adjusts caching dynamically based on API usage patterns.

  • Fixed: Caches responses for a set duration.

Set Cache Parameters

  1. Set the cache duration in the Fixed Cache Time (Minute)* field, which is only available if API Cache is set to Fixed.

If set to 0, the system uses the value from Settings > FIXED_CACHE_TIME; otherwise, the specified time is applied.

  1. Click Update to save and exit.

Testing Proxy Caching

Run API Test

  1. Go to API Management > API Test.

  2. Select the API or static resource that you have set up for caching.

  3. Send requests to the API via the API Test feature to verify that proxy caching is enforced.

Observe Initial Response

Record the response time for the first request. Since this is the first access, the proxy fetches the content from the backend and stores it in the cache.

Send Repeated Requests

  1. Use the API Test feature to send the same request multiple times.

  2. For subsequent requests, the response should be served from the cache, resulting in noticeably faster response times.

For more information, please refer to API Test.

Was this helpful?